I posted a brief mention of my annual kids’ artwork gift project on my personal Instagram this week and got a ton of questions on how to make notecards from the paintings and drawings your child makes throughout the year. So here’s how I do it!
1. Save Your Kids’ Artwork
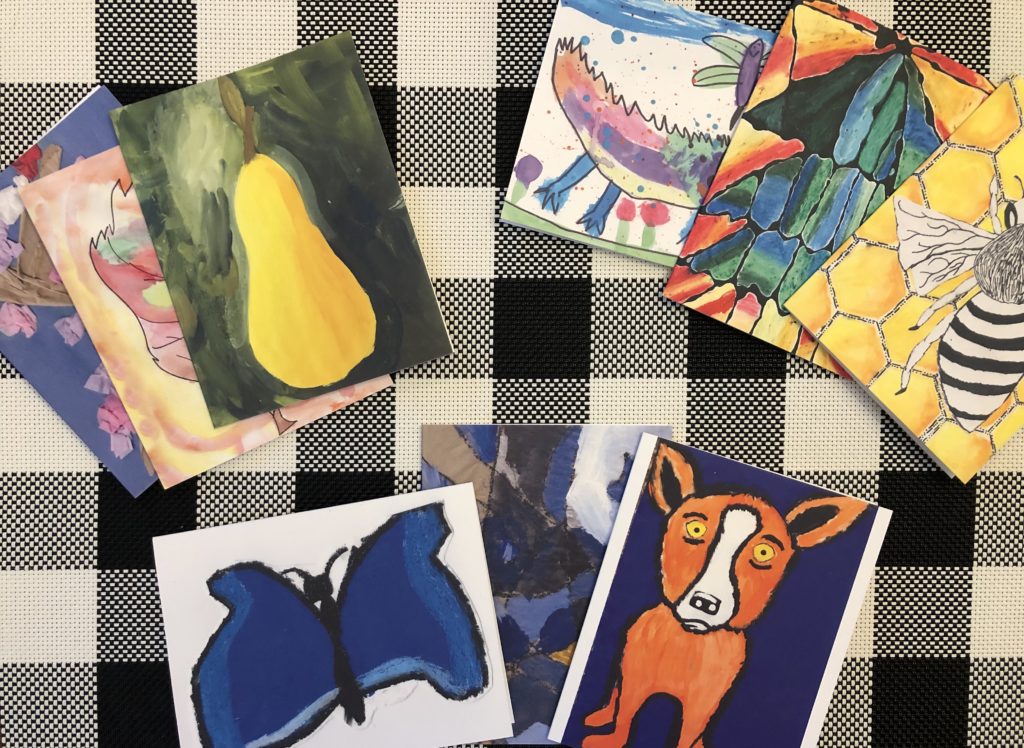
This might sound obvious, but the whole project starts by knowing where to look for the kids’ best artwork over the past year. I use these accordion folder style portfolios from Lakeshore Learning to store artwork from each school year. Since I do the project at Christmastime, I’m combing through the fall season of this year plus anything created after January of last year.
2. Choose The Artwork To Make Into Notecards
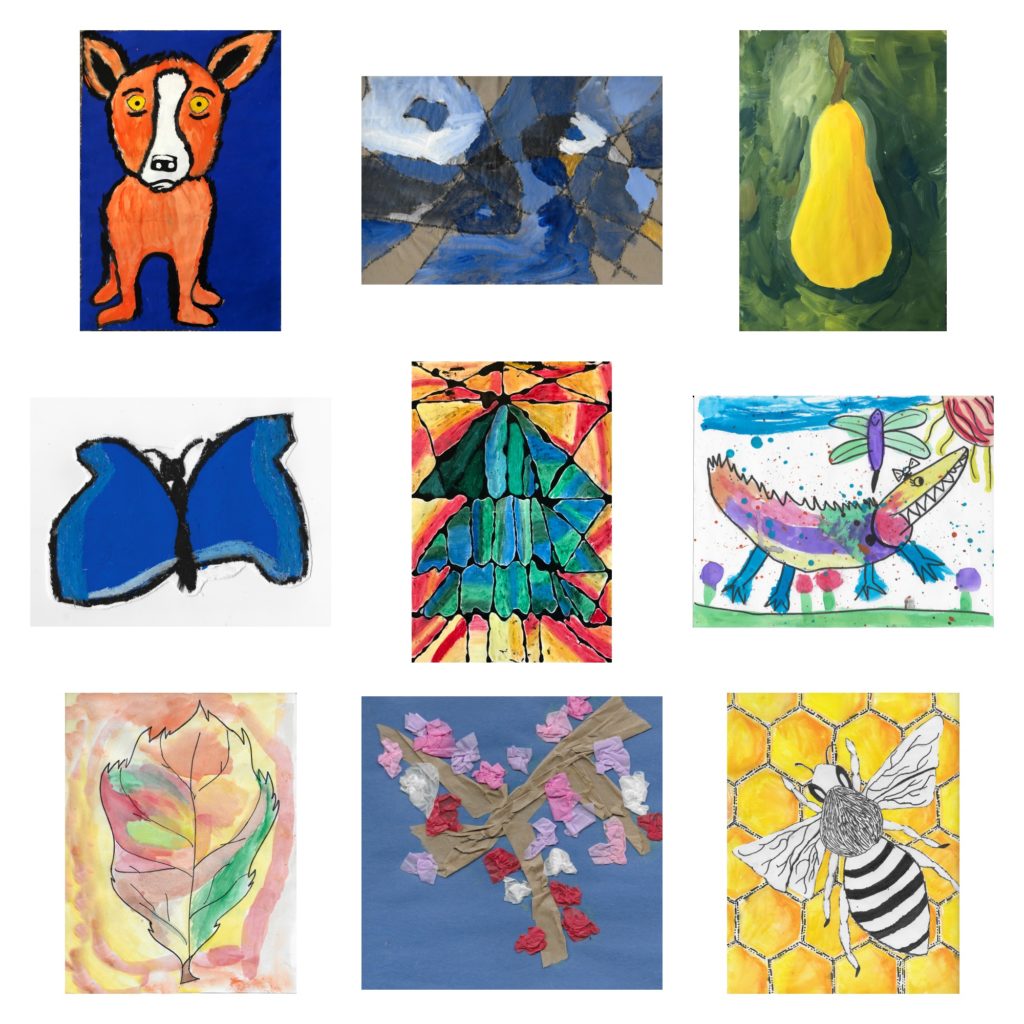
I have found that the bold, bright pieces that fill an entire page work best for this project. I do sometimes choose pieces with white space, but they’re my second choice for sure. I also try to avoid writing or words in the pieces I choose – I like the look of art only.
Here are this year’s scanned pieces–aren’t they awesome?!
3. Scan Your Child’s Artwork (Or Photograph If Necessary)
I use my home printer/scanner to scan each piece and save to a folder on my computer (helps to name the files something like Reid-Butterfly or Violet-Flowers for when you’re making the cards later on). If your scanner allows you the choice, scan at a higher resolution (at least 300dpi) and make sure the files are saving as a .jpg or .png (as opposed to a .pdf).
Don’t be afraid to scan pieces that are slightly 3D due to collage work or other elements. My scanner did great with Violet’s spring branches this year, and those were actually little balls of tissue paper!
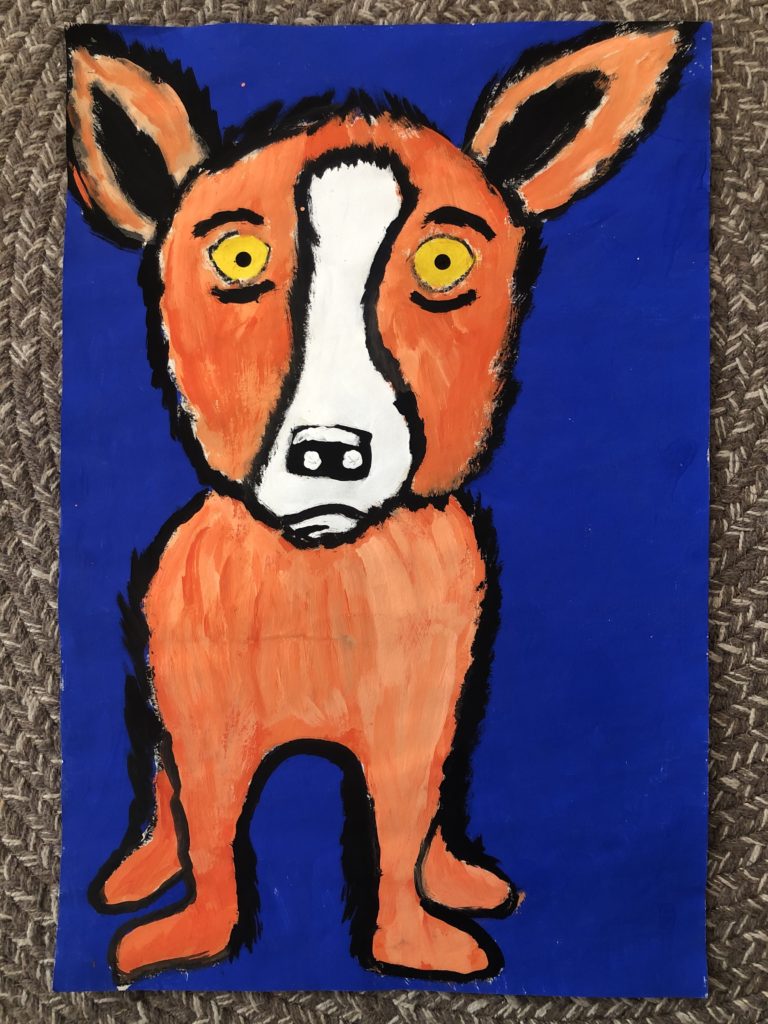
For those pieces too big to fit into my scanner, I photograph them. If you’re going to do this, lay the piece flat on a surface that is well lit but not too bright (you want to avoid any contrast from bright light and shadow patterns, including shadows from the camera overhead). Hold your phone or camera directly over the piece, parallel to the surface it’s lying on, so you’re capturing it at the same angle. Crop or adjust rotation as necessary, and save the photo file to the same location as the scanned artwork.
4. Upload Artwork & Design Note Cards
I have used VistaPrint to make my notecards the last few years because it’s very affordable and I have a ton of design control. I start with the blank folded 5.5″ x 4″ cards.
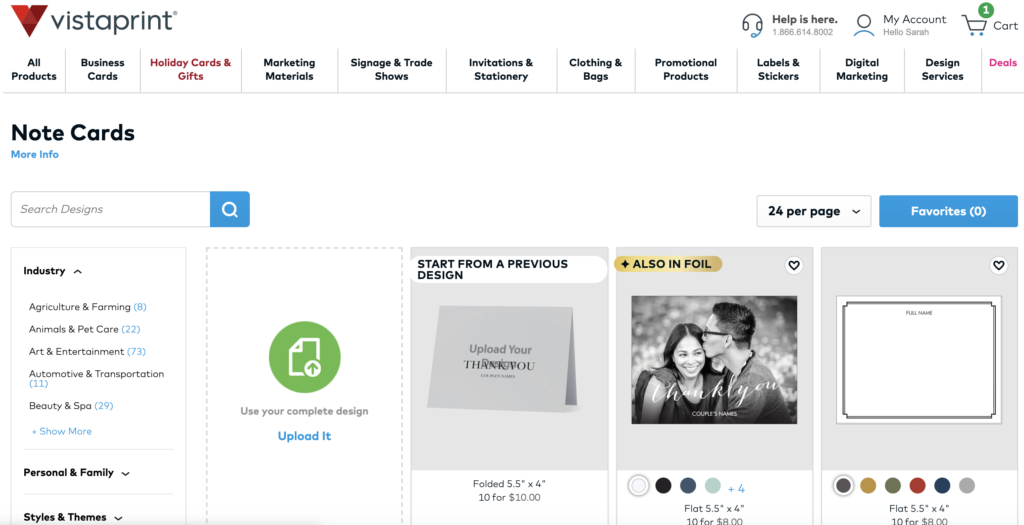
Follow the instructions to personalize the cards by uploading your scanned artwork as the front of the card. You can rotate, crop, etc., within the design platform. I prefer for the artwork to fill the entire space, but you can choose what looks best.
As you move through the design options, you’ll want to delete the templated design elements that VistaPrint offers (frames, graphic elements, sample text) so that you’re working with a completely blank card on the inside.
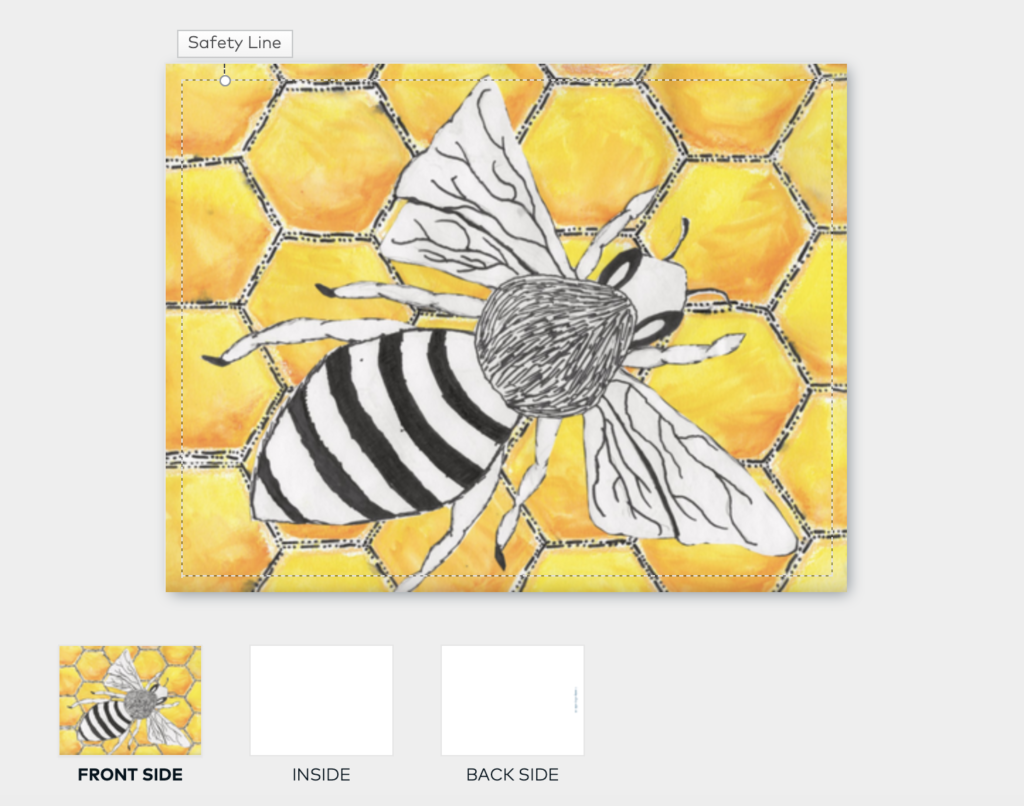
For the back of the card, I put “Art by [Child’s Name]” in a small font on the bottom (if you start with one of their templates for the back that includes text, you can then shrink and move the text from there).
A Note For The Spatially Challenged!
This card style defaults to a horizontal orientation, which means it opens from the bottom up and the artwork is landscape-style. If you’re leaving the inside blank, you can easily use the same design for portrait-style artwork–you just have to mentally rotate the design to make sure it won’t come back upside down! (As you look at the card, the top of your art would be on the right side of the horizontal-looking card.)
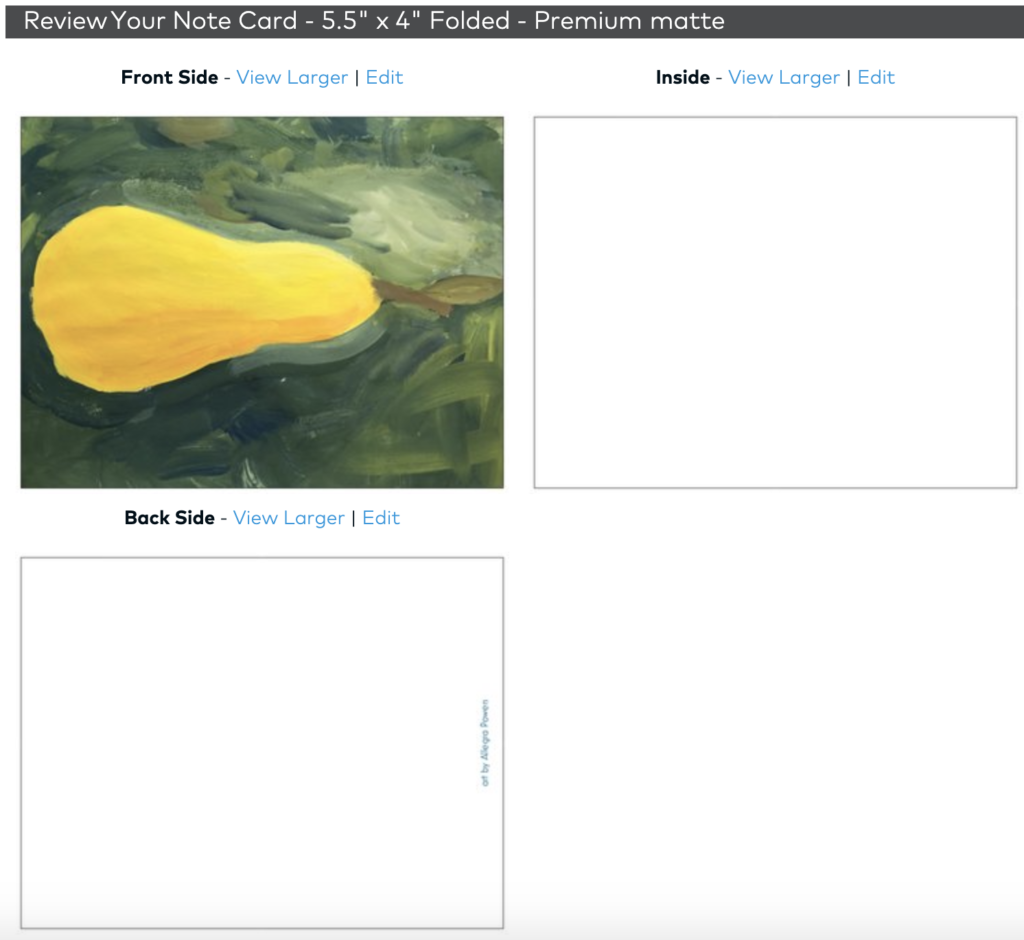
This also means that the “Art by….” text on the back will need to move and rotate for portrait-oriented designs. This is advanced-level mental object rotation! When you look at the back of the card in the preview, the text should be on the right side, with the bottom of the letters closest to the card edge.
5. Add To Cart & Repeat
The first time you go through the process, everything will take longer. Good news! Once you finish the first card and add it to your cart, you can work from that first design to make the next and it’s much faster.
You’ll have choices as you move through the ordering process. I choose the free white envelopes and the standard matte card stock. Once the first card is in your cart, navigate to My Account > My Portfolio and then Edit a Copy of your first card. From there you can modify the first design and order a second.
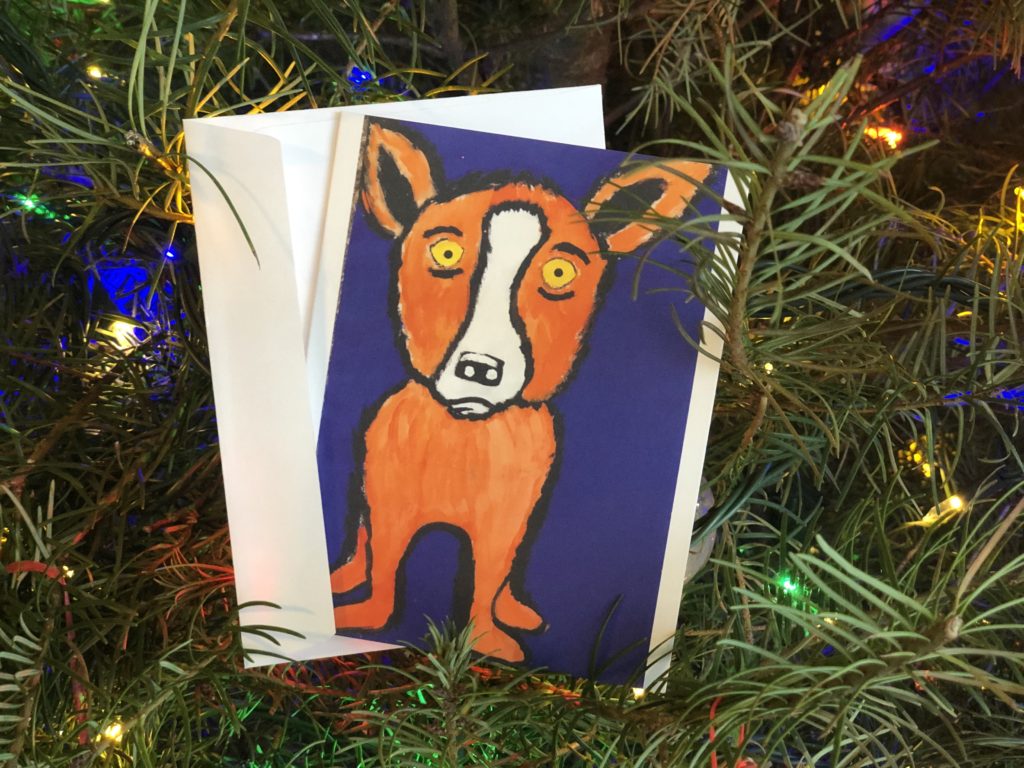
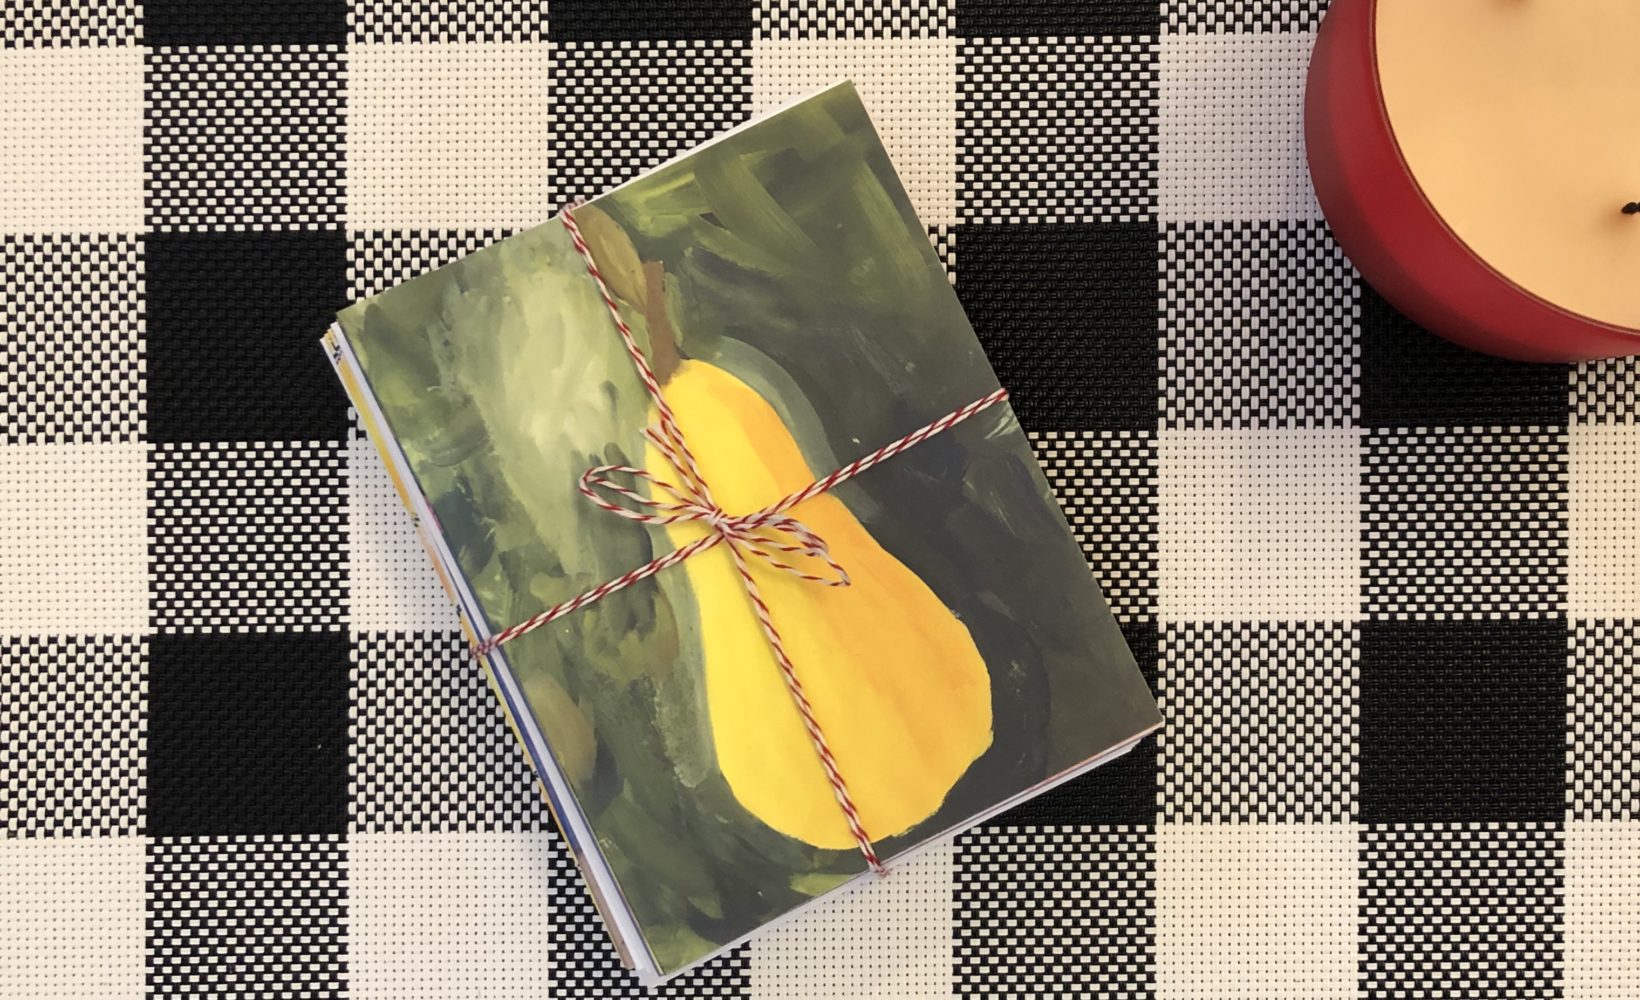
I typically create 2-3 card designs per kid and order a set of 10 or 20. Then, when the sets arrive, I create “variety packs” from a mix of the designs to give as gifts. I tie them up in kitchen twine (with the corresponding number of envelopes), wrap, and gift to relatives and loved ones.
This is not at all sponsored by VistaPrint – I’ve chosen them because I’ve had good luck with their design platform and find them very affordable. We always disclose when we make any affiliate or advertising income from recommending a product or service, and in this case I get nothin’–just wanted to share my process! -S


Thanks for the step by step, and the recommendation to use Vistaprint. Much appreciated.