“But it’s gross and it stinks!”
“It’s going to attract animals.”
“I don’t know what to add!”
“It’s not worth the inconvenience.”
For years, I strategically avoided taking the leap to start a compost pile in my backyard. My excuses were numerous: all of the above plus a pretty deep sense that I couldn’t do it. Yet, here I am several years later through some trial (and a little bit of error) with a thriving compost bin in my backyard. And guess what? It doesn’t stink, attract animals, or require that much effort.
I want to help you and your family give this compost thing an honest go, too. It is possible to get yourself (and your family!) into a composting mindset. Sure, it will take a little thought and rearranging of your current disposal methods, but it’s worth it.
Easy Backyard Composting, Explained
Just as our friend Kendra Adachi at The Lazy Genius says, let’s “start small.” I have five baby steps outlined for you below to get started with a backyard composting system, and you may be pleased to know that I don’t do anything beyond what I’m about to share with you. It’s a simple starting point here, and it’s simple in my home, too. Let’s dig in!
Step 1: Decide Why You Want To Compost
I know the whole “name your why” thing is cliche, but the reality is, composting is far from glamorous, so having a clear, personal reason for why you are going this make these changes in your home is worth it. I was set into motion to compost once I learned that when my food breaks down in the landfill it releases methane into our environment. Maybe you want to have less trash. Maybe you want to create your own soil for your garden. Or maybe someone in your family is intrigued by the science surrounding composting and can’t get enough of seeing it all break down. Pick something that motivates your family, and stick it in the back of your mind each morning.
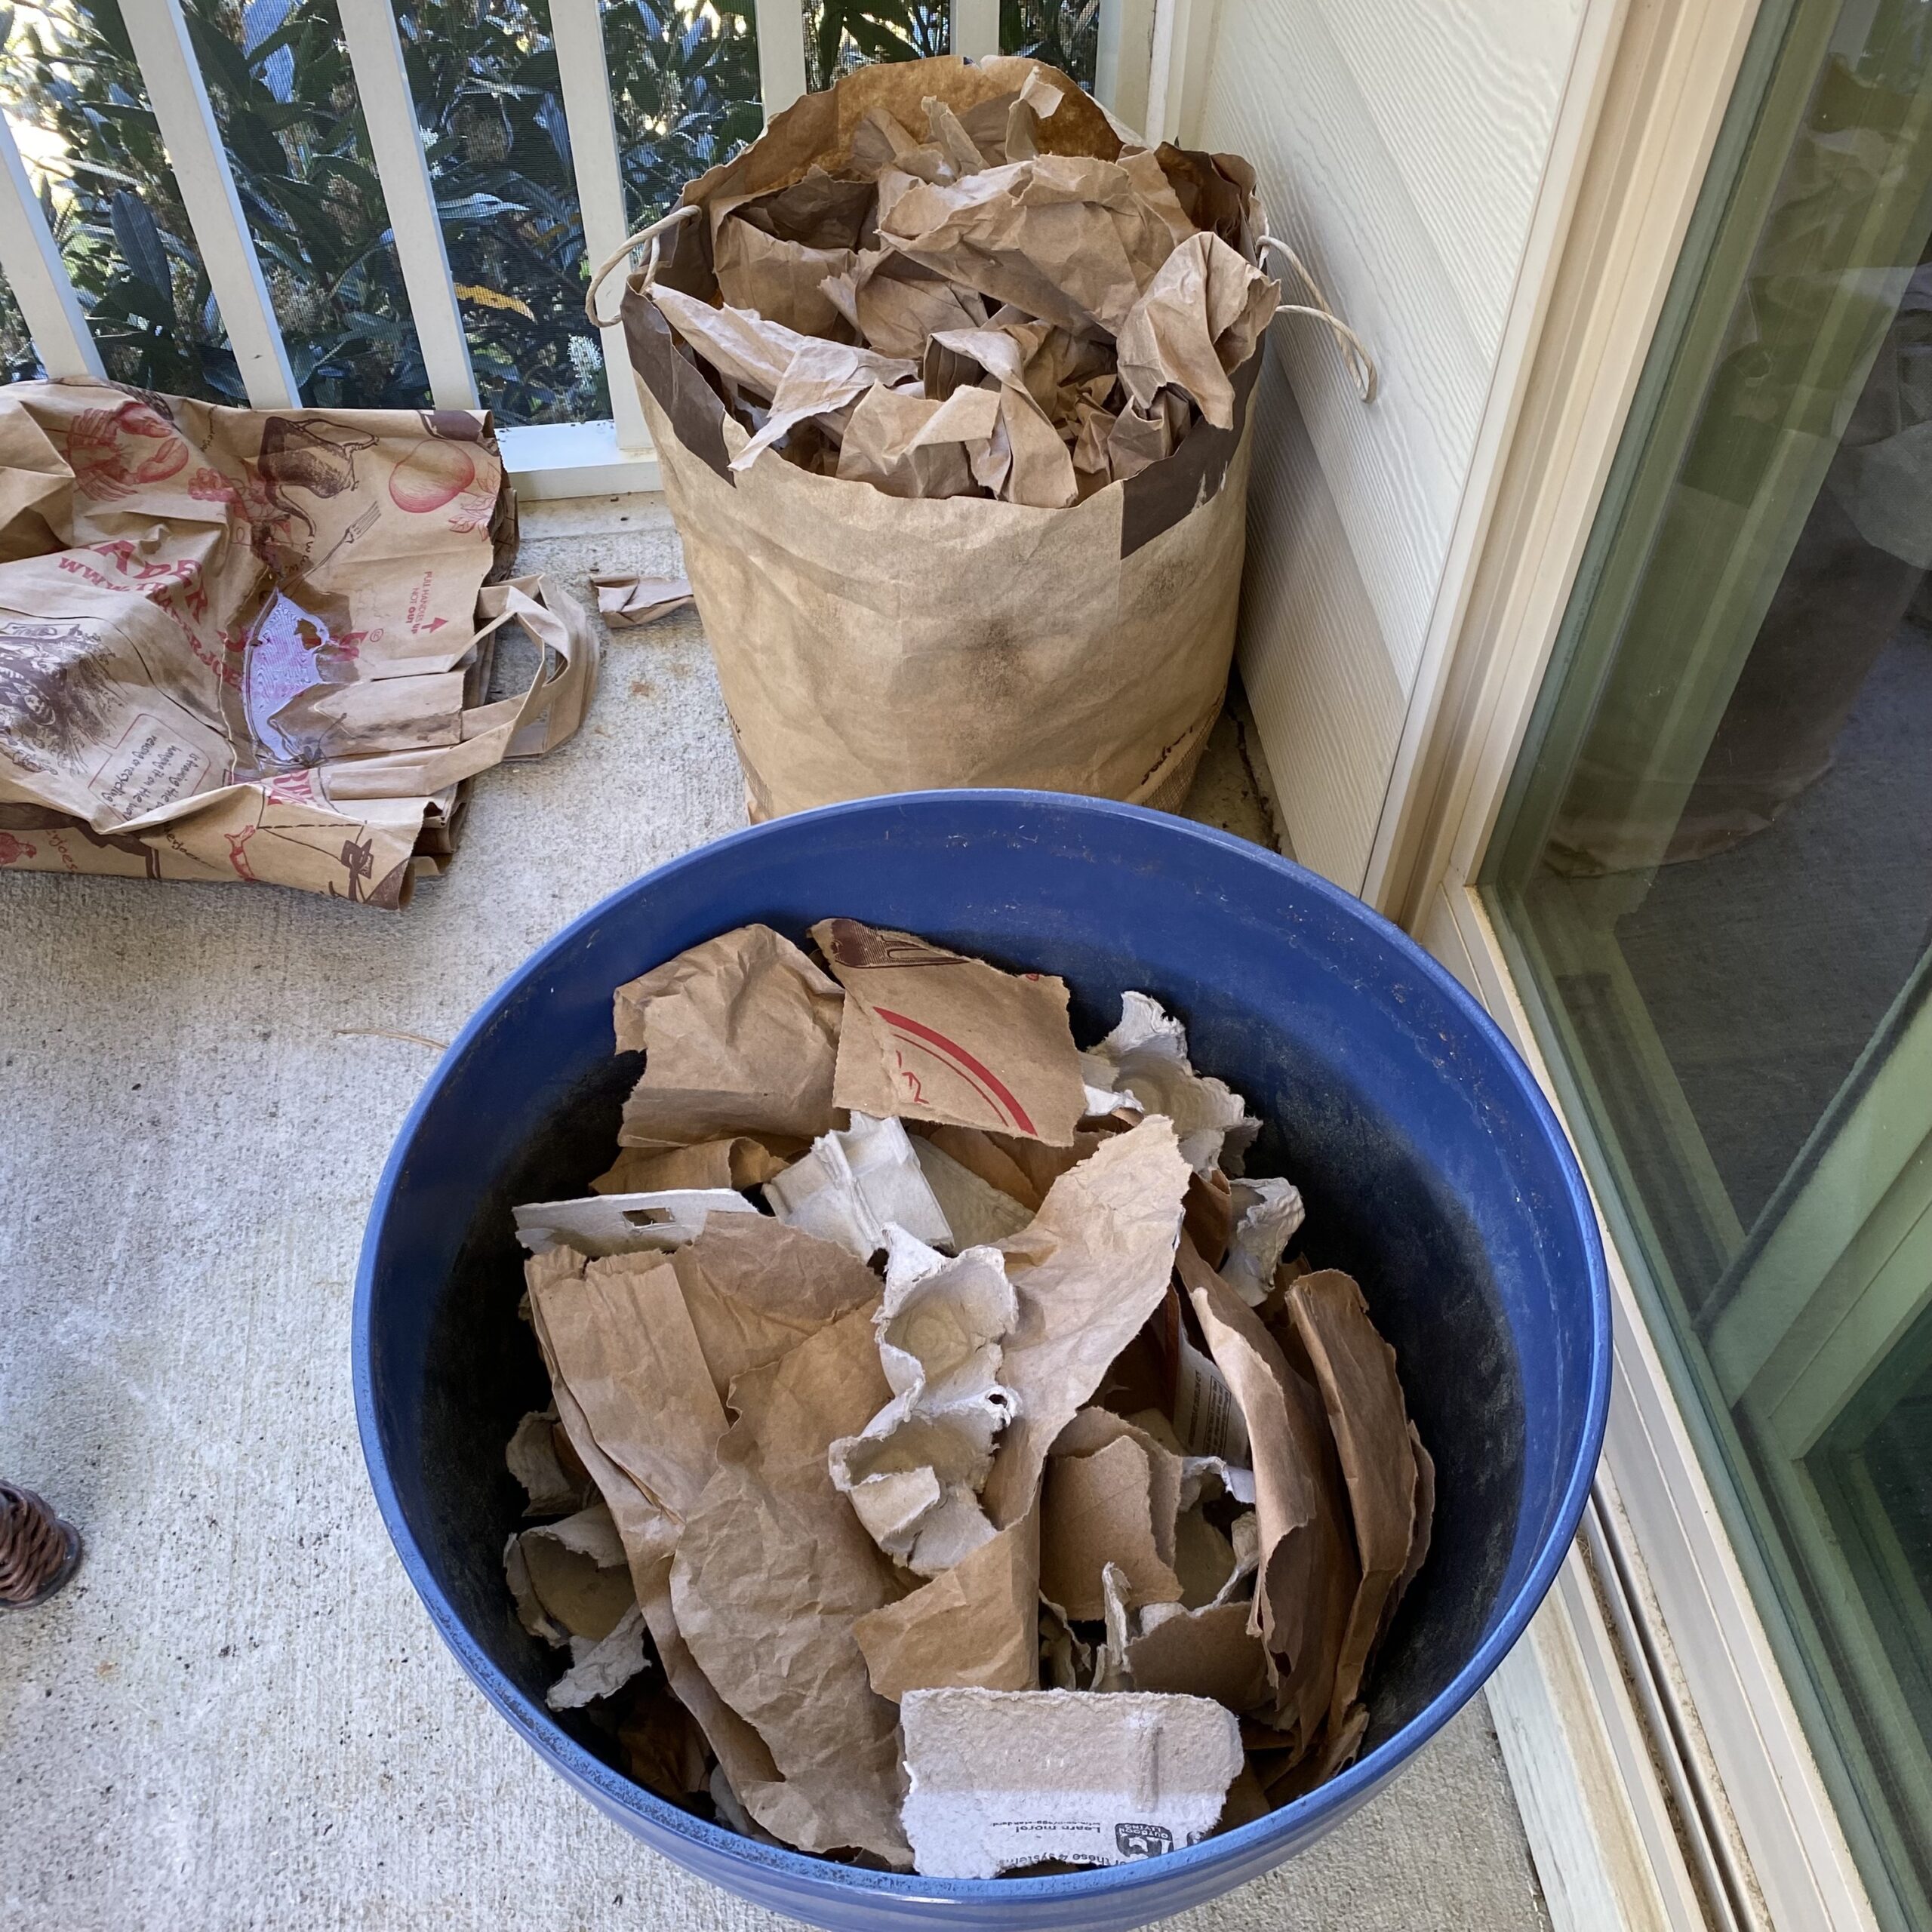
Step 2: Choose A Receptacle
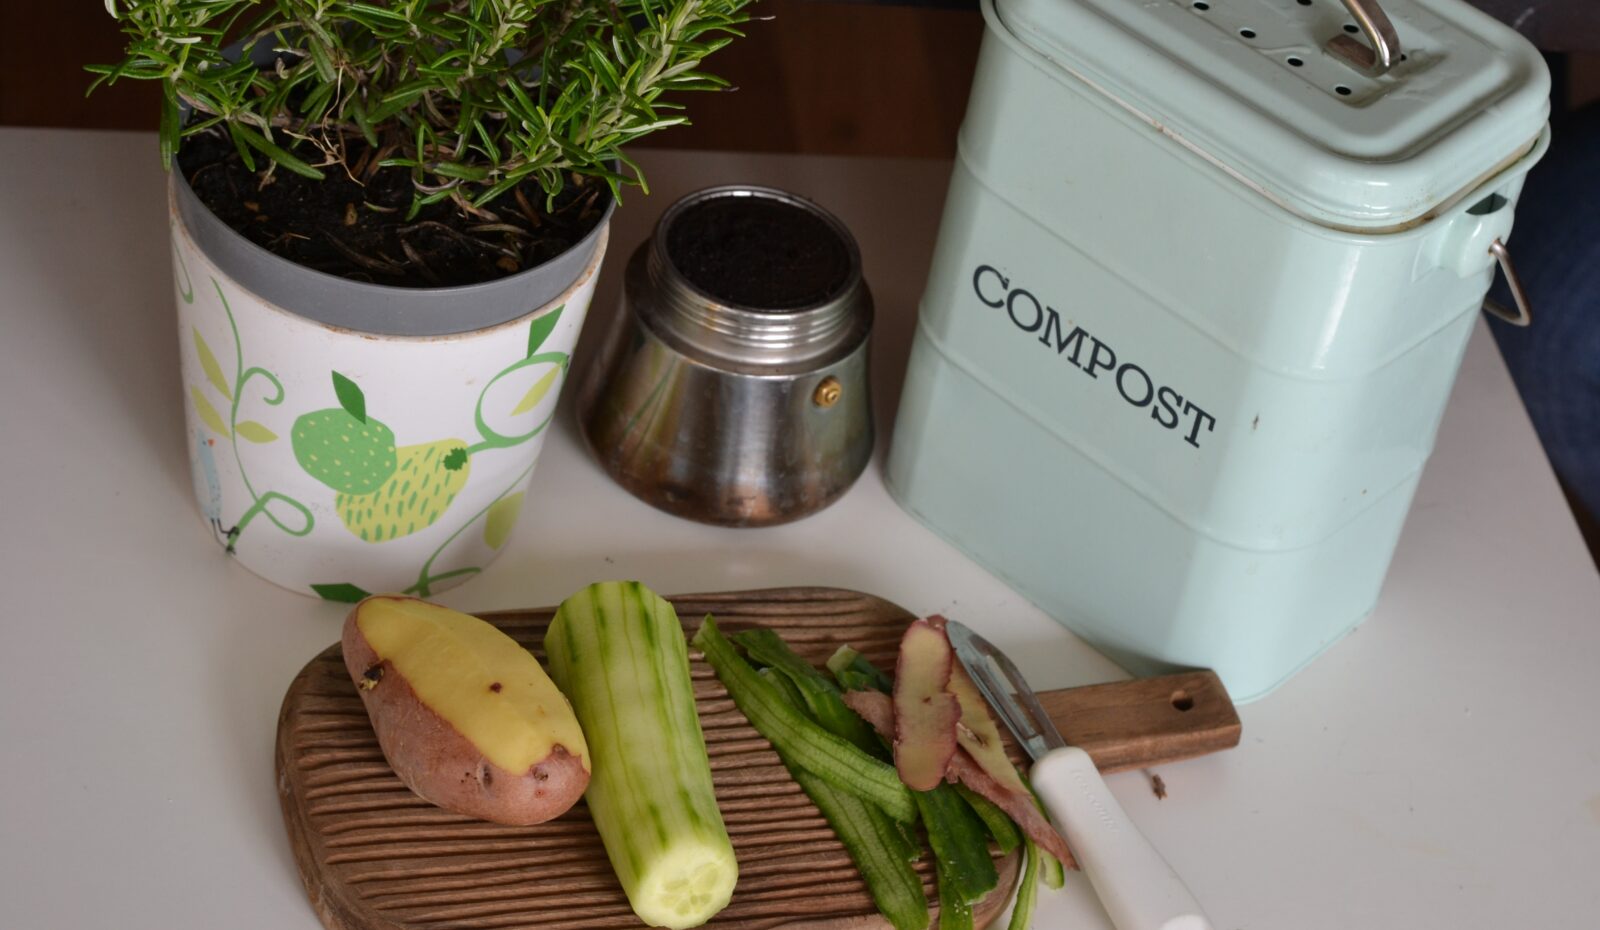
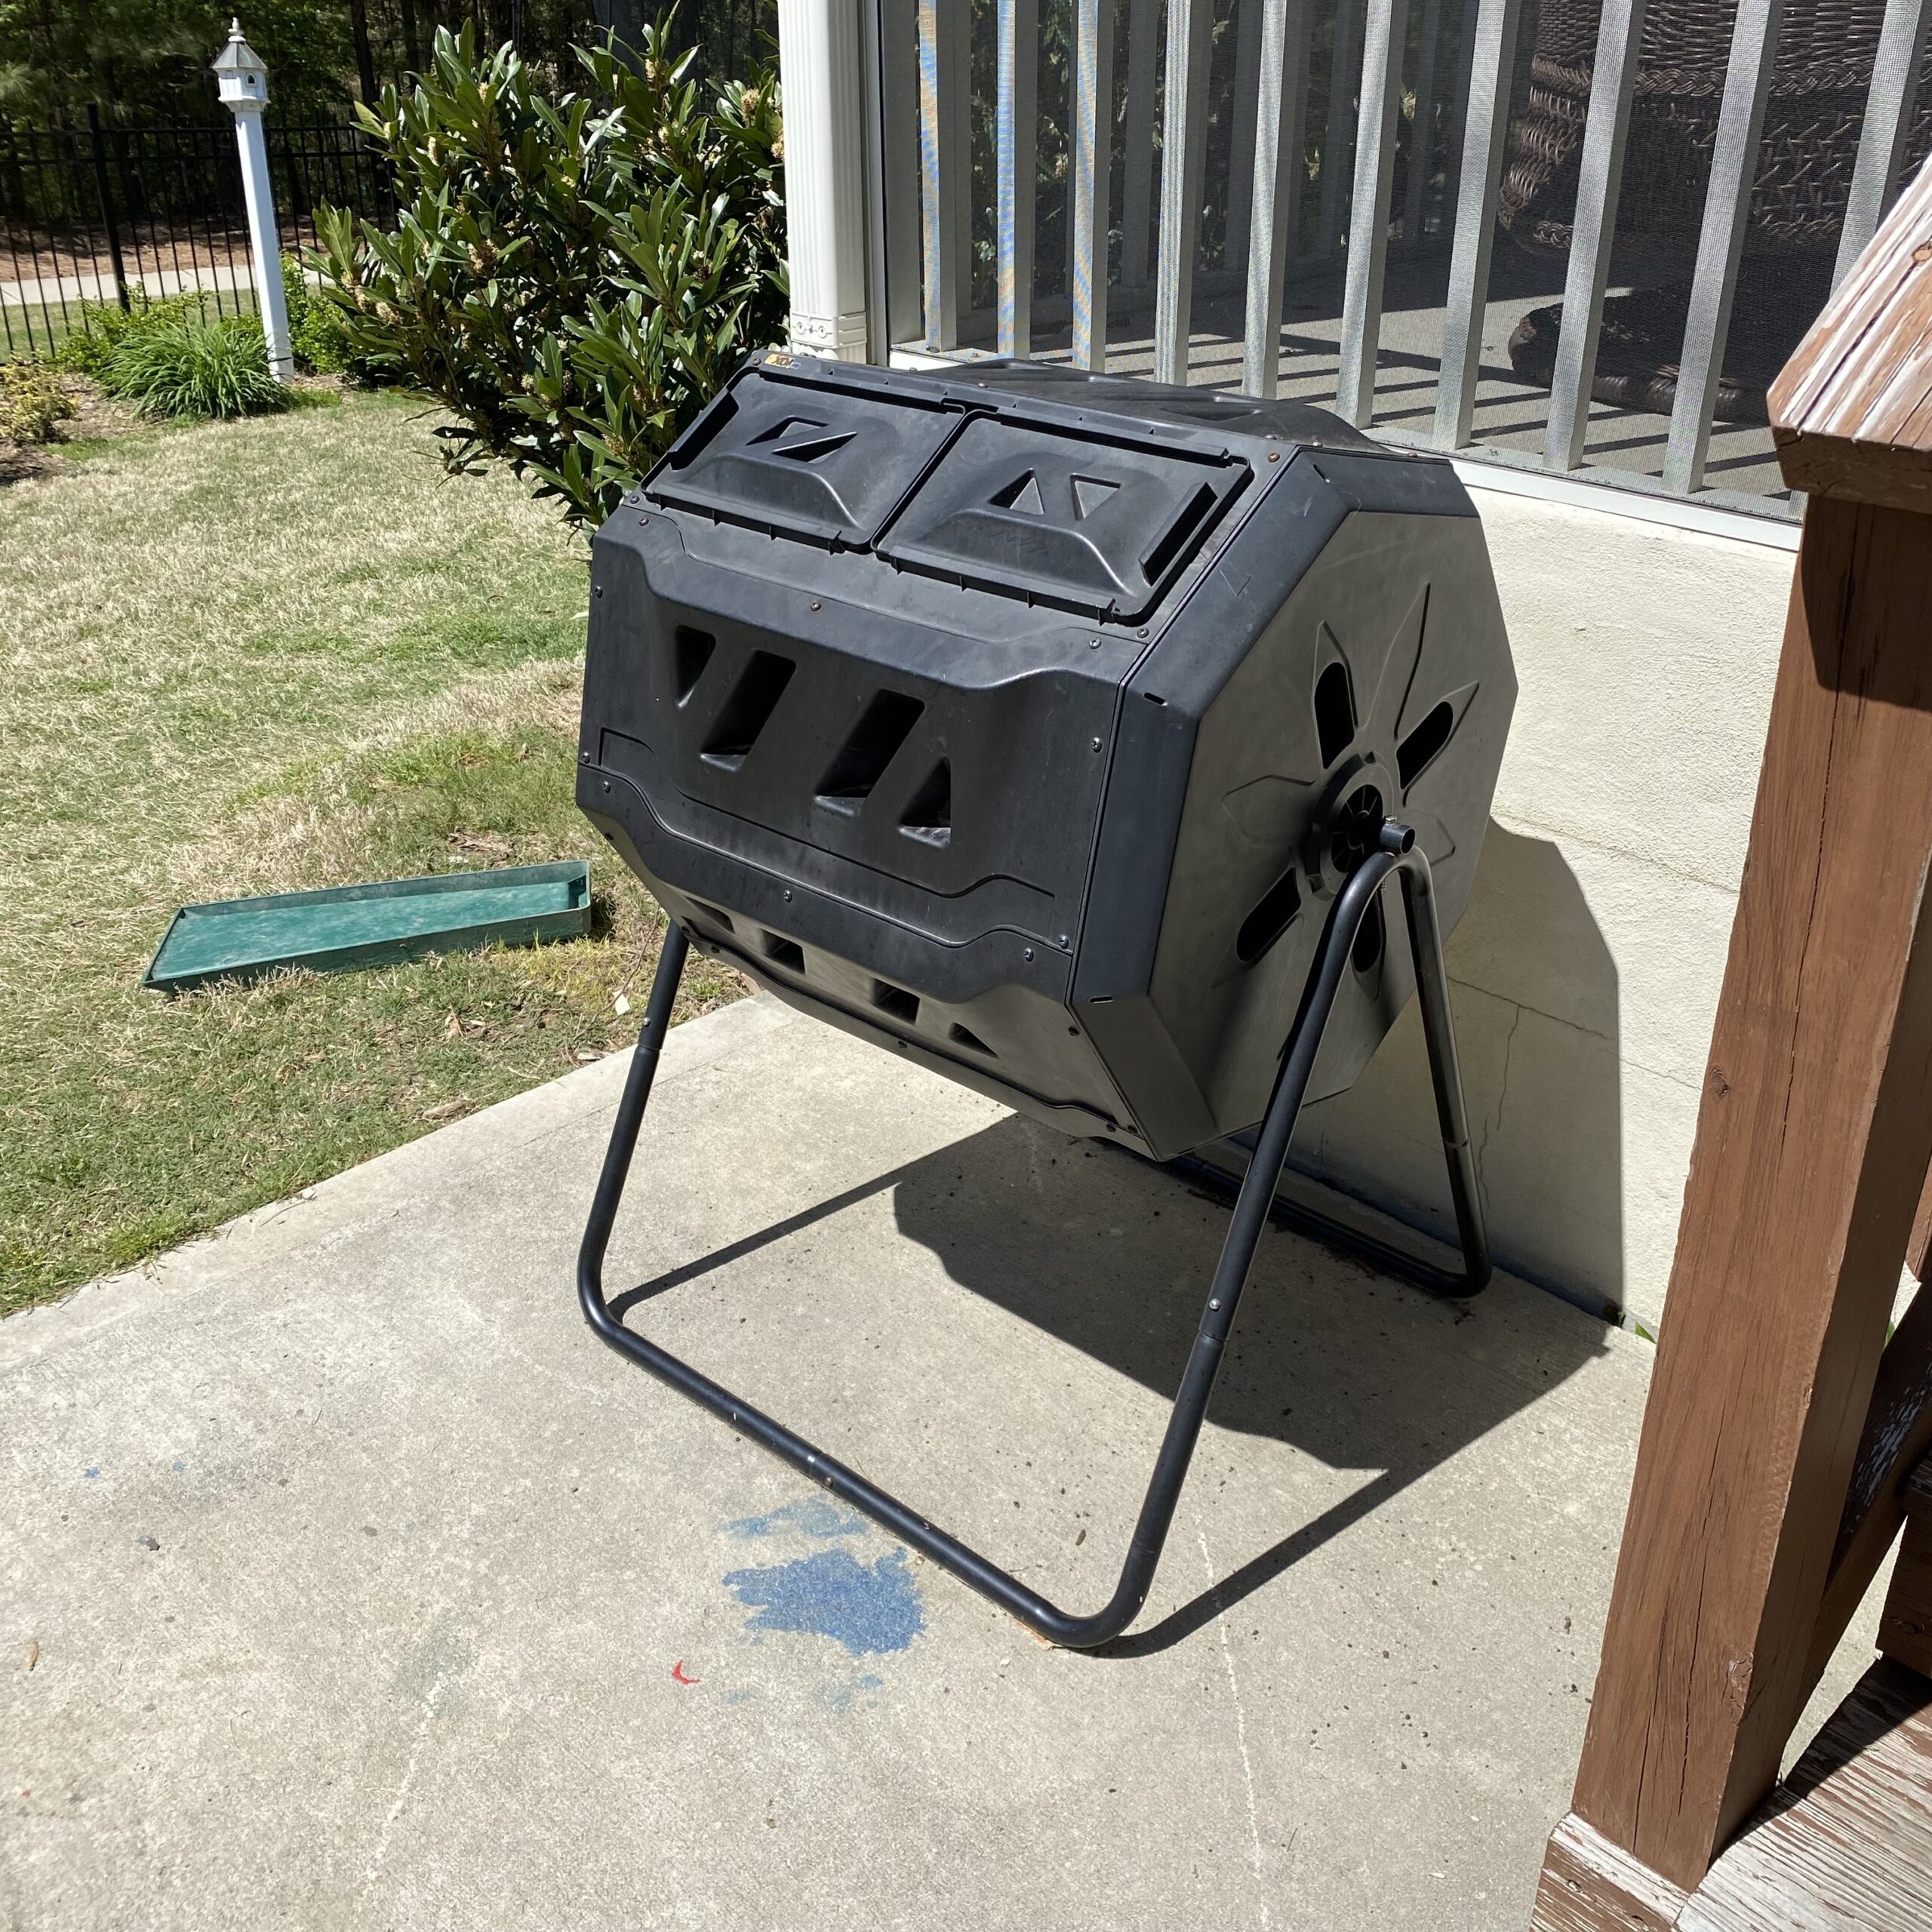
Well, maybe choose two. The first thing you will need is a bowl or small container in your kitchen to catch your scraps throughout the day. The second thing you will need is a covered area or bin outside to deposit the scraps and do the actual composting. There are all sorts of options for this second receptacle. If space is limited, I recommend a Dual Chamber Tumbling Composter like this one. I’ve elected for this option (see photo above), as it is easy to aerate through turning and is always covered. If you’d like to try to make one yourself, check out these ideas on Pinterest. You can see in the photo below, my friends took a couple garbage cans and drilled some holes. Done.
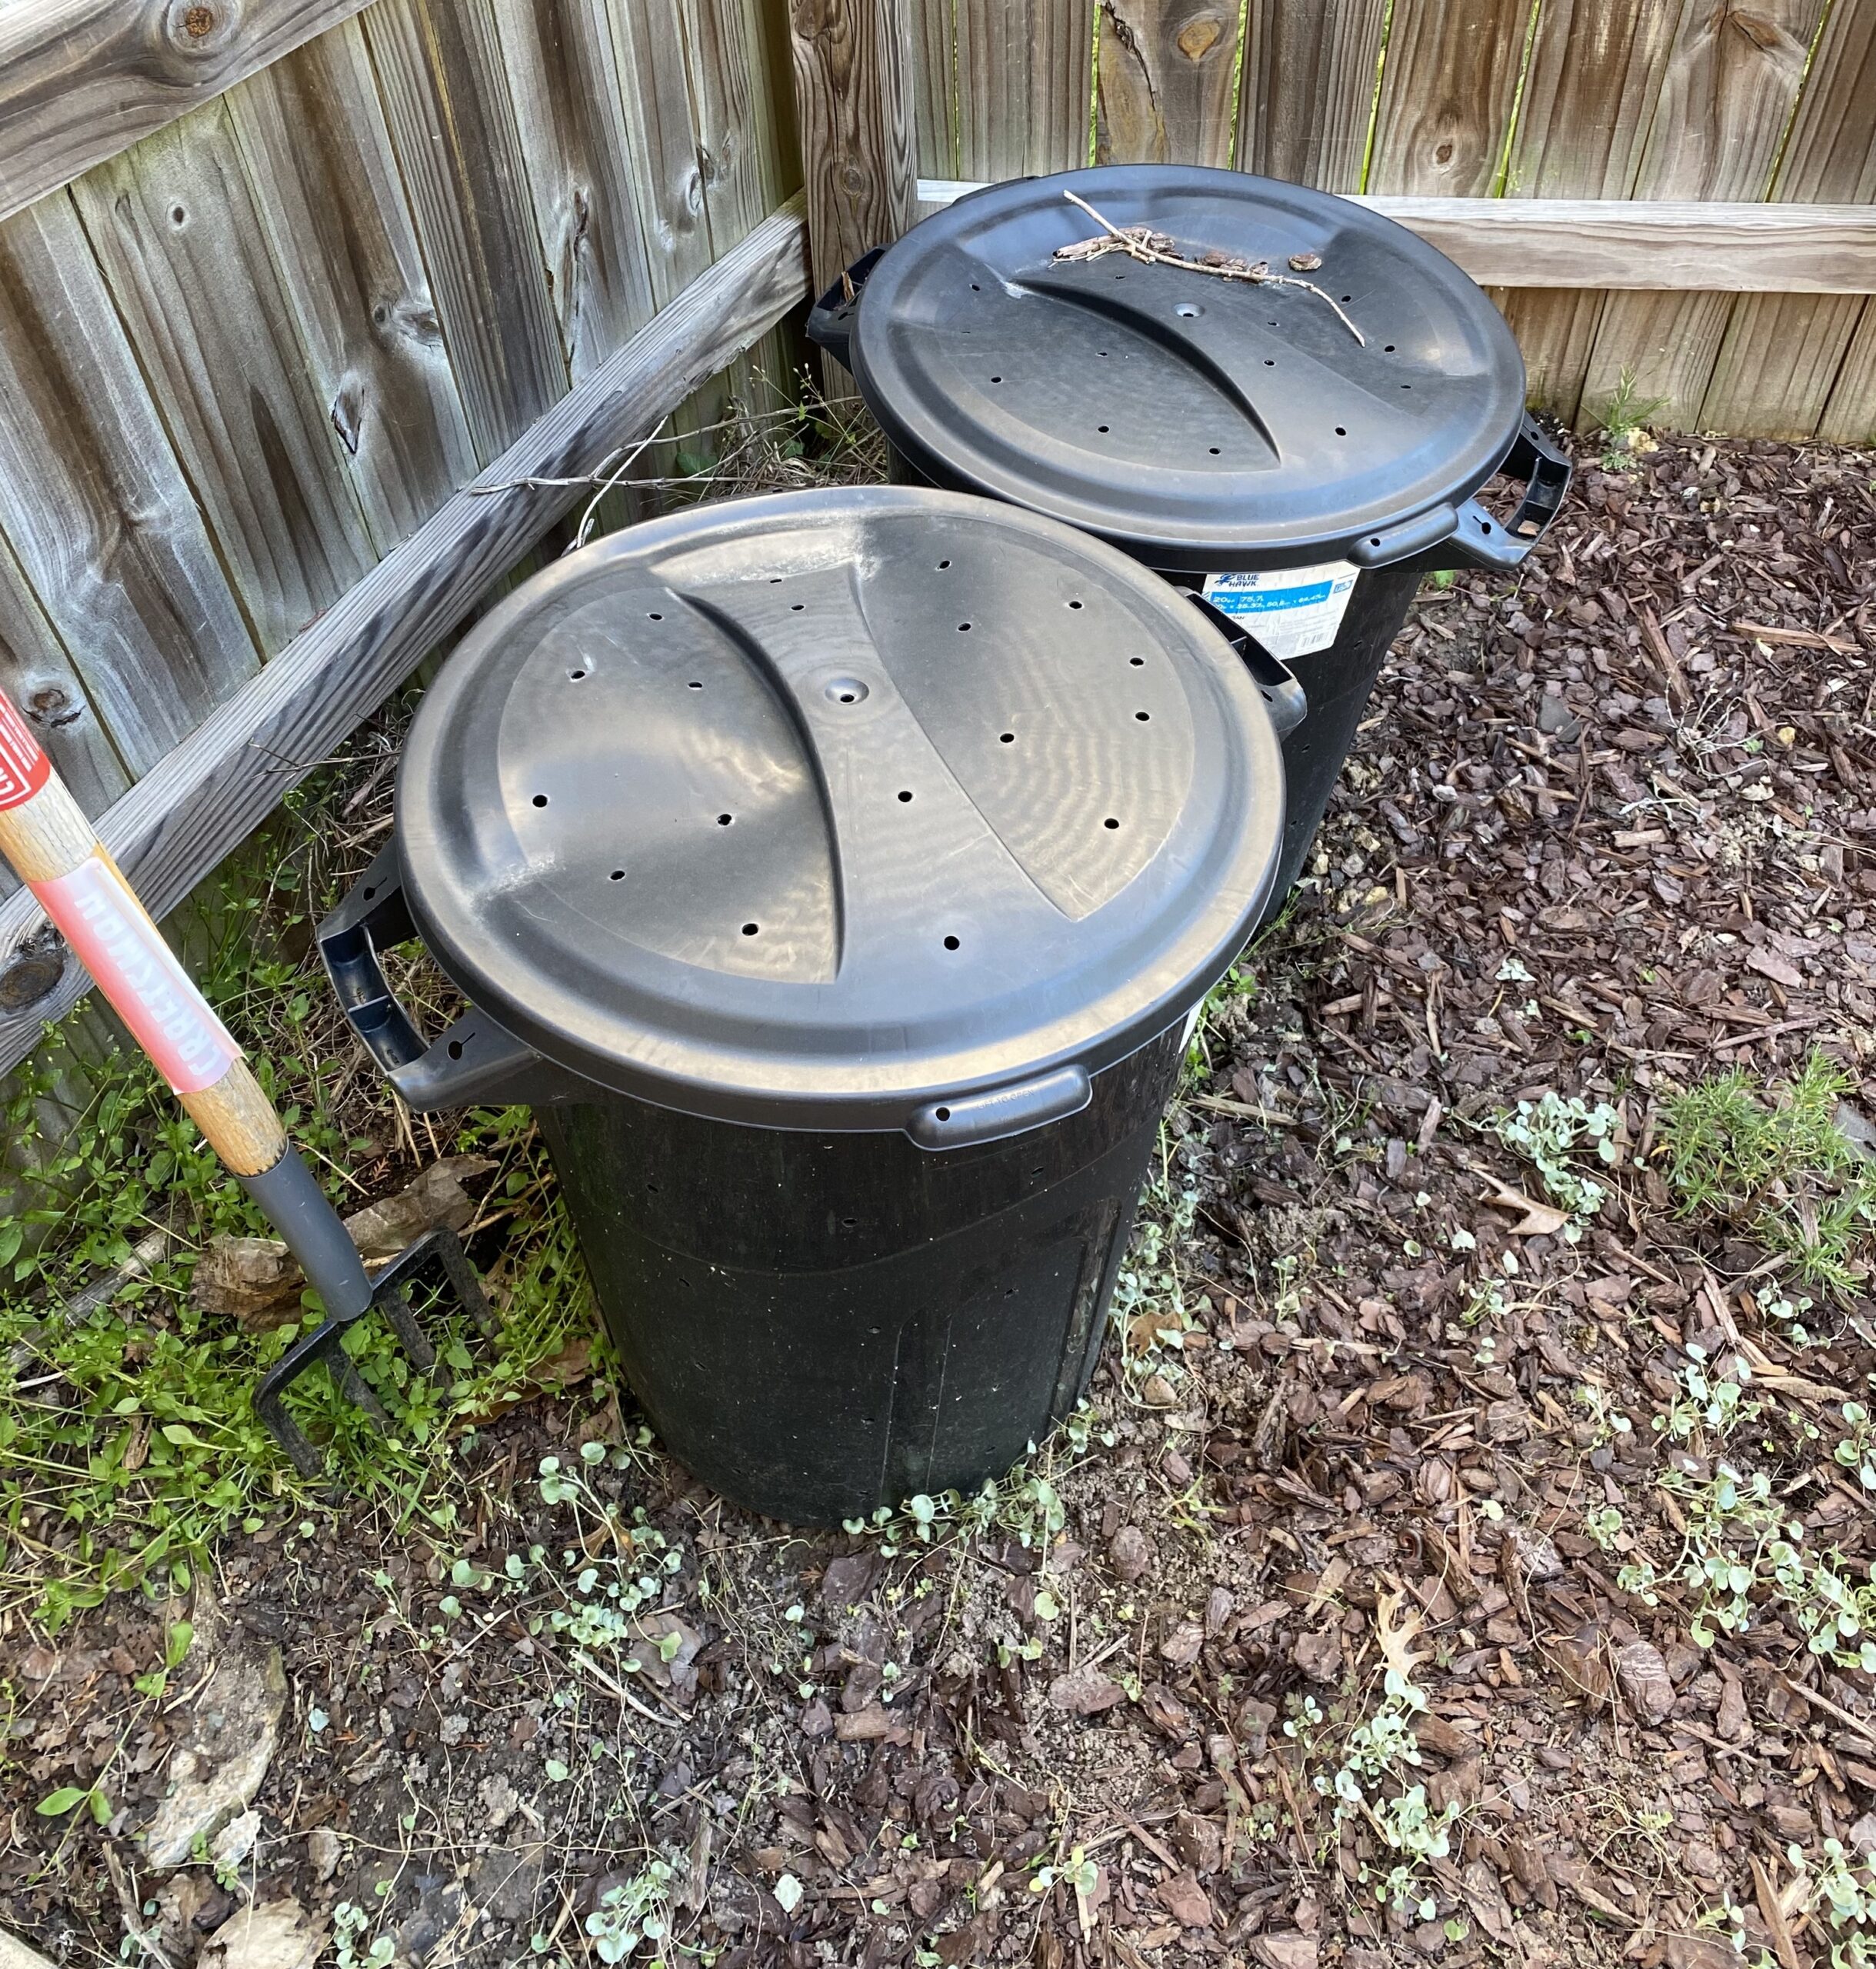
Grab two trash cans and drill holes throughout.
Step 3: Choose Your Starting Greens
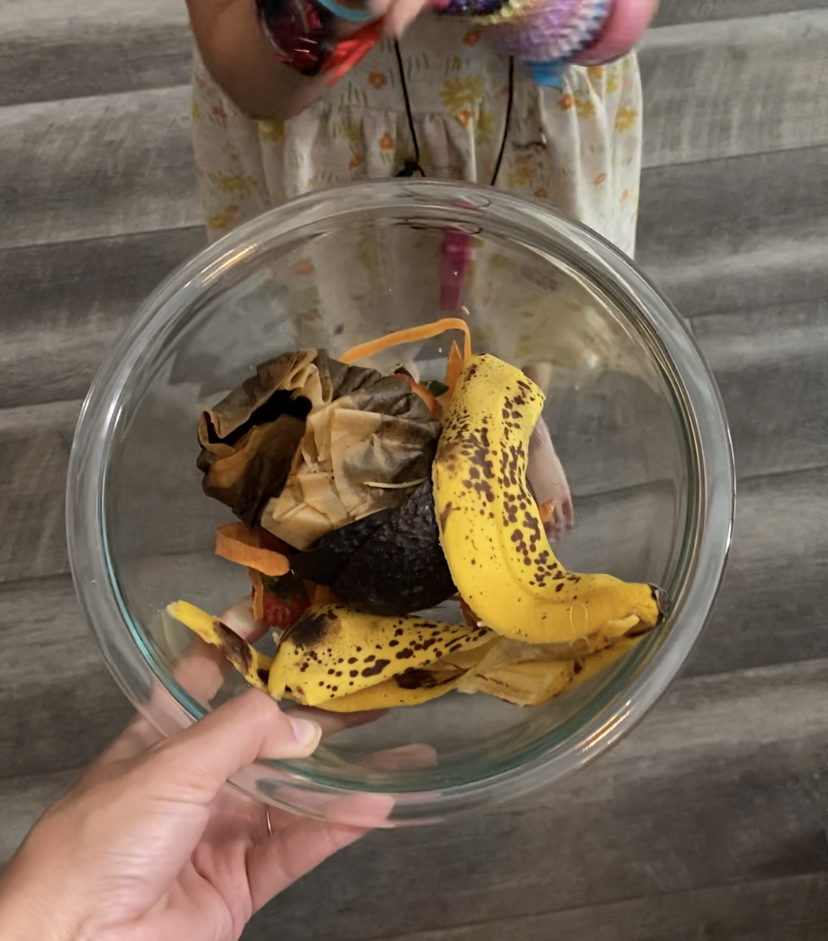
Composting occurs successfully when we have a balanced ratio of browns (carbon) to greens (nitrogen). Compost experts get very specific here and often recommend a 3:1 ratio, but more on that in Step 5. Most simply, greens include the unprocessed, organic materials from your kitchen. Think fruit, vegetables, and coffee grounds (trust me, I’m annoyed enough for the both of us that brown coffee is considered a green). The purpose of the greens is to add moisture and nutrients.
I recommend starting your family slowly and getting the kids involved in this step. Individually, or as a whole, choose three greens that you plan to always compost and never trash. Maybe one child chooses banana peels, another chooses apple cores, and you choose broccoli stems. I don’t think its worth it to overwhelm yourself and try to compost every organic material in your kitchen. Once you get the hang of those three, it will be easy to add to it. From my perspective, anything you are keeping out of the trash makes a difference.
Step 4: Choose Your Starting Browns
Browns are both easy to find and somehow always low in supply for me. Browns (the carbon source for the compost) provide energy and absorb extra moisture to give your pile structure and strength. Browns can come from brown leaves, wood chips, sawdust, cardboard, paper bags, egg cartons, toilet paper rolls, and more. For the most part, I rip up brown paper and cardboard for my pile. Every once in a while, my wife will toss a perfectly good paper bag in the recycling, and I immediately have to fish it out. Browns take a little more effort in my opinion, but they are so important to prevent a soggy, stinky pile. As a family, choose two or three browns you will always save to have available to balance your pile of food scraps.
Step 5: Look, Sniff, And Adjust
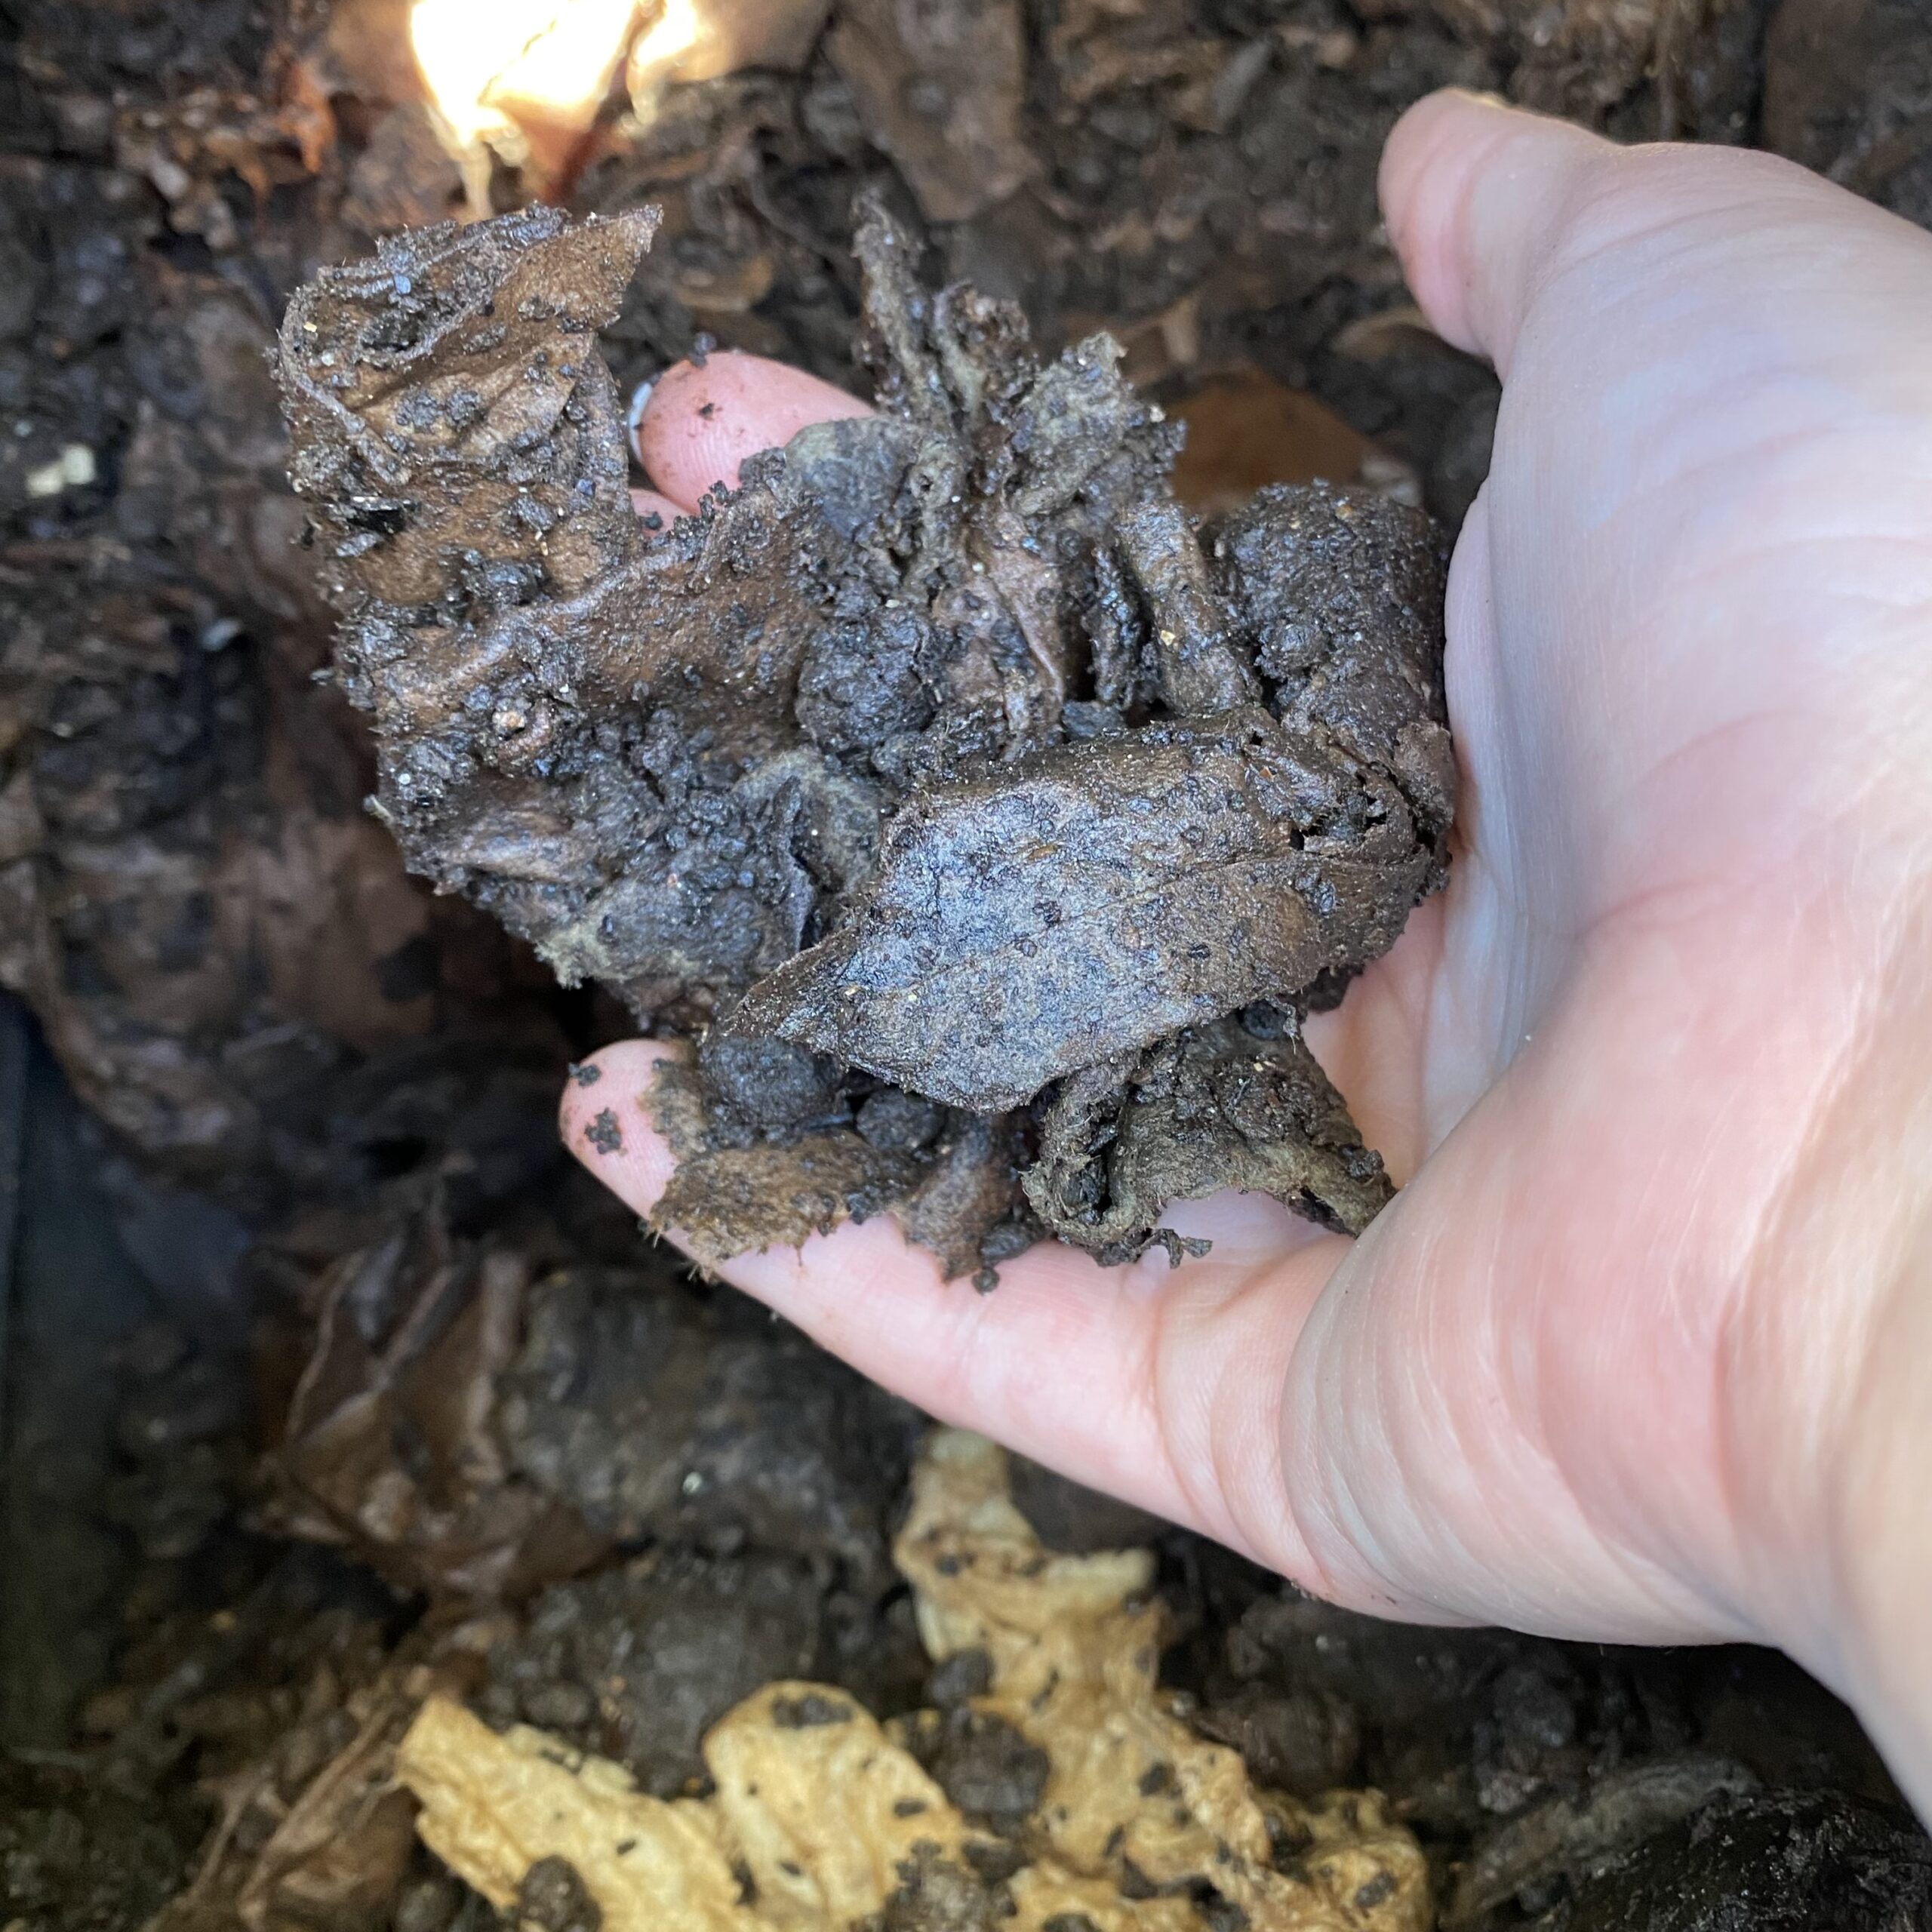
Remember that perfectly balanced 3:1 ratio of browns to greens? Yeah, go ahead and toss that formula out. You can certainly become very scientific about compost, but it’s not actually necessary to know what’s happening to have a successfully broken down pile. You see, the amount of carbon and nitrogen in each item you add to your pile varies, drastically. This is why I recommend the look, sniff, and adjust method, which I originally learned from Jen Panaro, a true master of composting.
In general, your compost *should* look and smell like soil, but a curated compost pile in your backyard does require a little bit of tinkering. Let’s get more specific.
If your compost looks very dry, you need to add more greens or a little water.
If your compost smells like rotten food, you need to add more browns.
If your compost looks soggy, you need to add more browns.
If you see gnats flying out of your bin, you need to add more browns.
If you see maggots in your bin, you need to add (a lot!) more browns.
If it looks and smells like soil? Well, you are right on track. Keep it up.
Dare I say it? Composting is FUN! It will take some mindset adjustments and some tinkering and maybe a couple of failures, but it’s about as satisfying as successfully growing a tomato in a pot on your porch. Give it a go and let me know what you think!


Leave a Reply