I LOVE finding clever ways to repurpose leftovers – it satisfies my down-deep urge to be resourceful, save money, and reduce food waste. And when I can combine a solid leftover strategy with a meal that didn’t cost much to make in the first place, I consider that a total win.
When it comes to delicious and kid-friendly bang-for-your-buck, you can’t do much better than a pork shoulder. These regularly go on sale in my area (I’ve got one in my fridge right now that I paid $1.49/lb for) and they’ll last for days. The meat is fatty, so it crisps up well for sandwiches, hash, tacos and nachos, and it does best with a forgiving super-low-and-really-slow cooking method.
Note: purchasing pork to pull can be confusing, because while a pork shoulder and a pork butt – which isn’t from the hindquarters at all, to add more confusion – are two different cuts of meat, the terms are sometimes used interchangeably – and in fact, the cut I find most frequently at my grocery store is inexplicably labeled a “pork shoulder butt”. I’ve had good luck using low-and-slow cooking methods with both cuts, so don’t overthink it too much.
My kids love every iteration of this pulled pork, and if I plan my meals out right, I can make the leftovers last almost all week.
Here’s how I cook the pork, and some of the meals I make from it.
- Preheat oven to 225 degrees F (if you have all day to let it cook, you can turn the temp even lower!) Heat oil (I use olive or avocado oil) in a skillet or Dutch oven over medium-high heat, and while the oil is heating up, salt and pepper the pork on all sides.
- Once the oil is hot, use tongs or two forks to place the pork in the pan to sear, about 3 minutes per side. (If you’re in a hurry, it’s totally OK to skip this step.) As far as seasonings: I tend to go pretty light at this stage, since I will be re-seasoning the meat for different purposes throughout the week. Some options: paprika, cumin, chili powder, cilantro, garlic. I also usually use this searing time to saute some onions and garlic in another pan, and then add it to the meat when it braises.
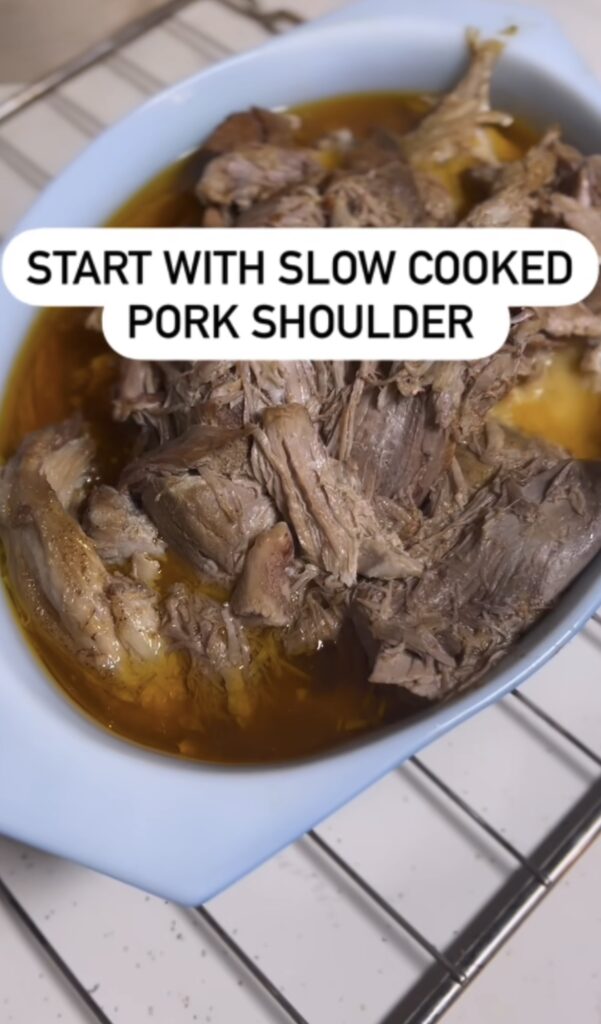
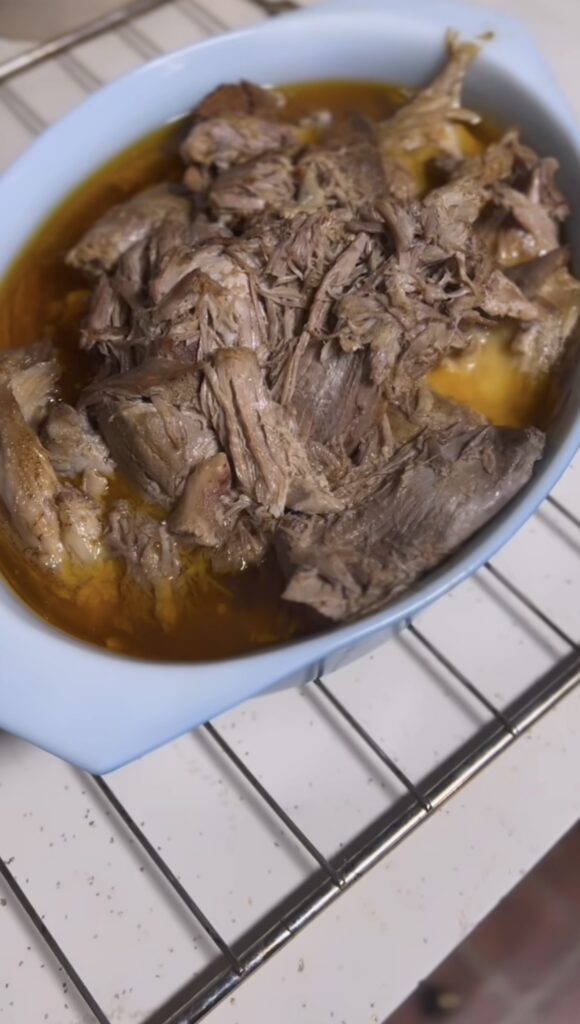
- Once the meat has been seared on all sides, it can stay in the Dutch oven or move to a stock pot or other large, tall pot. Add liquid – stock, beer, wine, water with bullion, even plain water will do – about 2/3 of the way up the side of the pot, cover the pot, and place it in the oven. I also like to add a quartered lemon and a quartered lime to the mix at this point. Leave it allllll day – four hours minimum, but I’ve let this cook for 10 hours or more before. When you remove it from the oven, it should be falling-apart tender, and you can easily “pull” it with two forks.
The first night, I typically serve this with potatoes or rice and a veggie. Since it’s been cooking all day and filling the house with delicious aromas, everybody is about ready to tear the lid off and dig in with a fork, so I just keep it simple.
After this, you’ve got so many options for the leftovers:
- Sandwiches (plain pork is great, or heat it up with little BBQ sauce to make sliders)
- Pork nachos or carnitas (pork tacos)
- Rice or quinoa bowls
- Hash with sauteed onions and roasted sweet potatoes. The hash is actually my kids’ favorite incarnation, so I often save it for last and serve it with an over-medium egg on top!
One great method is to fry the pork in oil over medium-high heat, working in small batches and seasoning to your family’s taste. This gives it a crispy texture and makes it especially delicious in tacos, nachos, hash, and sandwiches.
When you’re almost out of pork, you can stir up what’s left with some rice, hash browns, scrambled eggs, black beans, or whatever you have on hand. The flavor just gets better – and allows you to get a LOT of meals from that first day of effort. Enjoy!







This is the best article I like it very much. This is very informative and useful content. please keep sharing with us. Thanks for this great post.